Why wine label scanning matters
Building a digital cellar is much easier when you don’t have to type every detail of a bottle. Between long names, brand variants, vintages and tiny text, it’s easy to lose time or make typos.
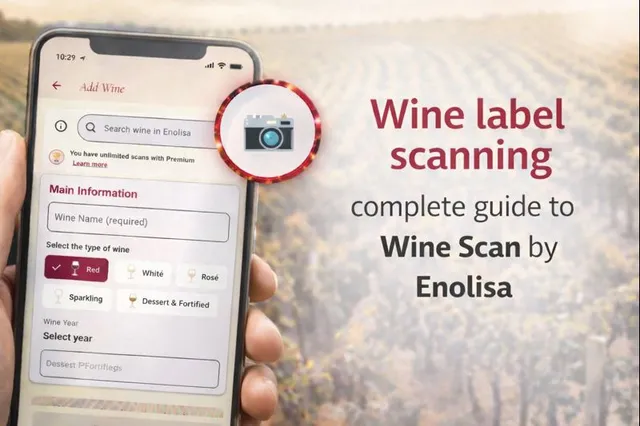
Enolisa’s label scanning is built to speed things up: snap the label and get fields ready to review and save.
If you want a strict step-by-step tutorial instead of a feature overview, go to How to scan a wine label in Enolisa.
What label scanning can detect
The scan focuses on information that normally appears on the bottle. Depending on the label design and legibility, Enolisa can help you fill in:
- Wine name
- Winery / producer
- Vintage (when it appears on the label)
- Wine type (red, white, rosé, sparkling, fortified, etc.)
- Alcohol by volume
- Denomination or region (when stated on the label)
- Back label info (legal notes, bottler, origin indications and other common text)
Important: some bottles simply don’t show all these details, or they print them in unusual ways (side text, decorative fonts, very small characters). In those cases the scan may return fewer fields, and your manual review becomes more important.
How it works in the app (overview)
- Open My Cellar and start a new wine entry.
- Scan the front label, and add the back label when possible.
- Review detected fields, adjust what is needed, and save.
This flow helps whether you’re logging a wine quickly or building a tidy, consistent cellar.
Why the back label often helps
Front labels focus on branding and design; the back typically holds the practical info. Scanning it is especially helpful for:
- ABV
- Bottler or producer details
- Origin as stated on the label
- Legal mentions and specific notes
If you can only take one photo, use the front. If you can take two, add the back: it usually reduces editing later.
What to check before saving (to keep your cellar clean)
Even with faster intake, final quality depends on a quick review. Focus on:
- Wine name: may include line/edition or a descriptor that varies.
- Winery: some brands and groups appear differently by market.
- Vintage: confirm the number is truly the vintage (not a code).
- DO / region: if the label uses zone names, brands or traditional terms, double-check.
- ABV: often shown as “% vol.” — make sure it’s complete.
If a field is missing or unclear, it’s better to leave it blank and complete it later than to force it now.
Common cases where the scan may vary
These are normal reasons why some bottles come out “more complete” than others:
- Curved or embossed text, metallic foil or heavy varnish.
- Low light or glare (common with sparkling bottles).
- Highly decorative fonts or side text.
- Multilingual labels with very dense text.
- Tiny back labels packed with information.
For these, the best-practice tips below help a lot.
Best practices for better results
- Shoot with even lighting and avoid harsh reflections.
- Keep the label flat in the frame (minimal perspective).
- Make sure key text (vintage, % vol., DO/region) is sharp.
- If there is a back label, scan it too.
- If the wine has similar variants, add a short note after saving (e.g., “Black label” or “Limited edition”).
Scan limits and plans
Wine Scan is available with different access levels:
- Freemium: free scans with periodic replenishment.
- Scan packs (10/30): one-off purchase to extend your quota.
- Premium: for frequent use and building a cellar without worrying about scan consumption.
You can see your balance and usage in the app.
What you gain with label scanning
- Log wines much faster than typing a form.
- Keep a more consistent cellar (fewer typos and naming variations).
- Save time when adding several wines in a row (shopping, gifts, tastings).
- Build a better base for your tastings, notes and insights in Enolisa.
Start scanning
Open Enolisa, go to My Cellar, tap “+” and choose Scan label.
With two photos and a quick review, your wine will be saved and ready to record your experience.
Need the full walkthrough with every step and troubleshooting? Read How to scan a wine label in Enolisa.